
What Are You Looking For?

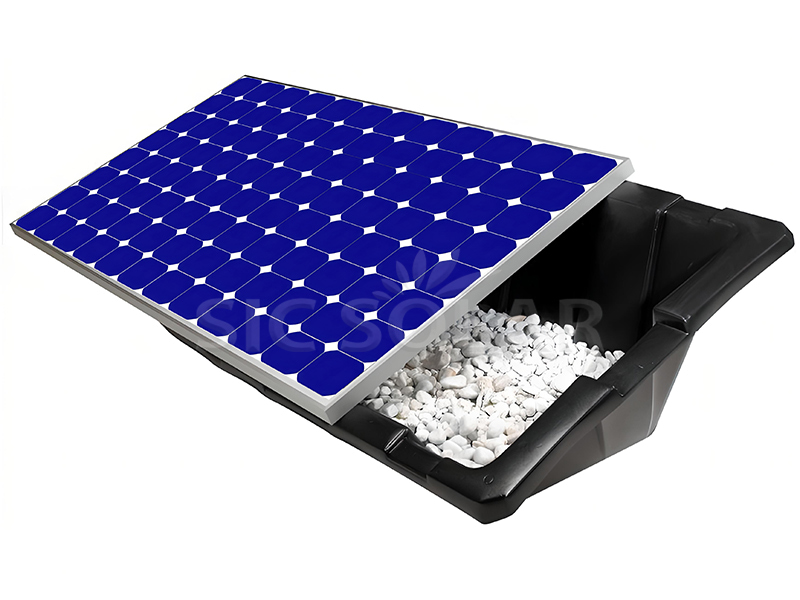

PP plastic solar ballast roof mount offer a light, strong, and simple way to put solar panels on flat roofs. They're made to hold weights, like concrete blocks, that keep everything in place without drilling into your roof.
Brand:
SIC SOLARItem NO.:
SIC-FPB1Installation Site:
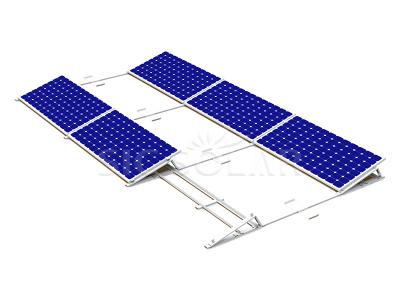
Flat surfaceTilt Angle:
18 degreeMaterial:
PPWarranty:
5 Years Warranty

PP plastic solar ballast roof mount work great on flat surfaces, so they won't hurt anything. They're quick and easy to set up, which saves time.

Easily harness the power of the sun and embrace renewable energy with our innovative PP plastic solar ballast roof mount. Simplify the process of ground-mounting solar panels without the need for expensive and complicated mounting systems.
Click here to learn more produce

|
Installation Site |
Flat surface |
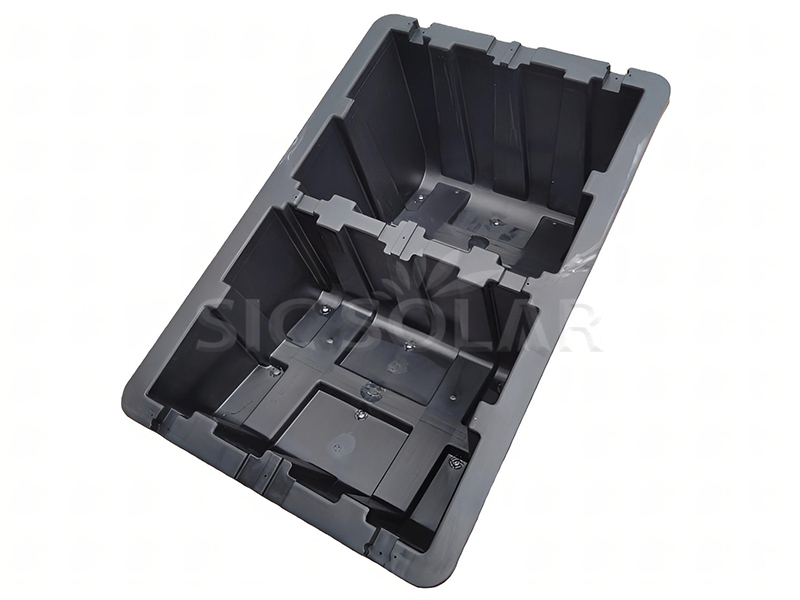
| Material | PP |
| Filler | Gravel, stone |
| Weight of filler | 120KGS |
| Content | Plastic pan*1, end clamp*4, screw*4 |
| Angle of installation | 18° |
|
Life time |
20 years |
|
Dimension |
1017*695*507 mm |
| Net weight | 7.5 KGS |
| Warranty | 5 Years Warranty |

Solar Ballasted Single Face Structure is a mounting system that holds solar panels on flat roofs or ...
Read More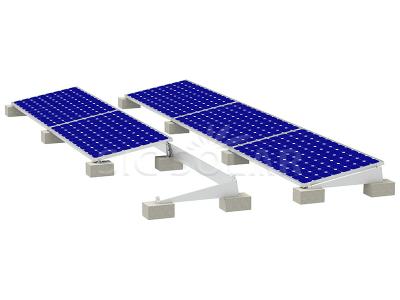
Flat Roof Solar Mounting Bracket System is designed for installing solar panels on flat roofs, provi...
Read More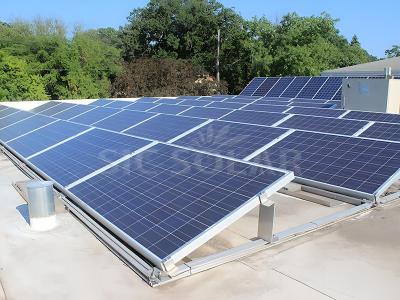
Solar Ballast Mounting Systems are a way to secure solar panels to flat roofs using heavy stuff...
Read More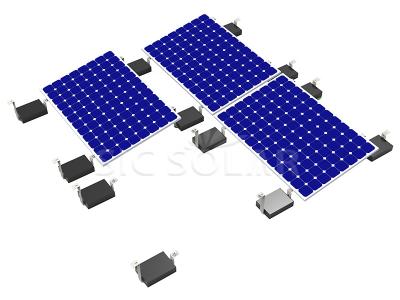
Ballasted Solar PV Roof Mounting System let you put solar panels on flat or slightly sloped roofs wi...
Read More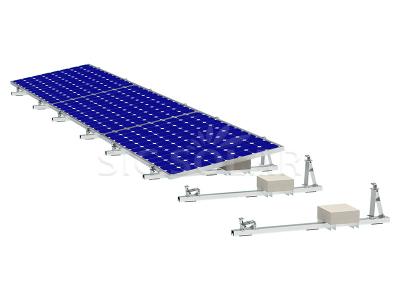
Offering a more cost-efficient and robust alternative to conventional solar mounts, New European Sol...
Read More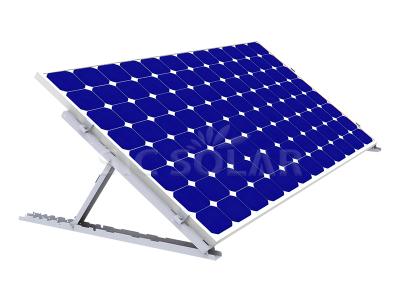
The Flat Roof 15-35 Degree European Adjustable Ballast Bracket is a unique mounting system for insta...
Read More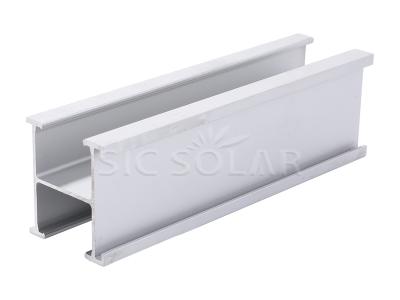
Aluminum H Rail For Pv Roof Mount are strong yet lightweight components used to install solar panels...
Read More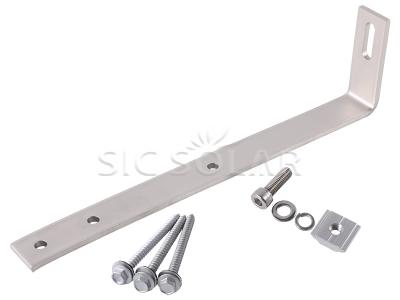
Solar Roof Mount Bracket Slate Tile Roof Hook is made specifically for installing solar panels on sl...
Read More


 IPv6 network supported
 English
  Deutsch
 español
 português
 Nederlands
 العربية
 日本語
日本語 한국의
한국의 Melayu
 Tiếng việt